Submit a repair request and review the process.
After you submit product details and symptom photos, we begin with document review. Approved cases proceed through head-office inbound, visual inspection, diagnostic-fee guidance, specialist team diagnosis, repair quote guidance, repair report writing and shipping.
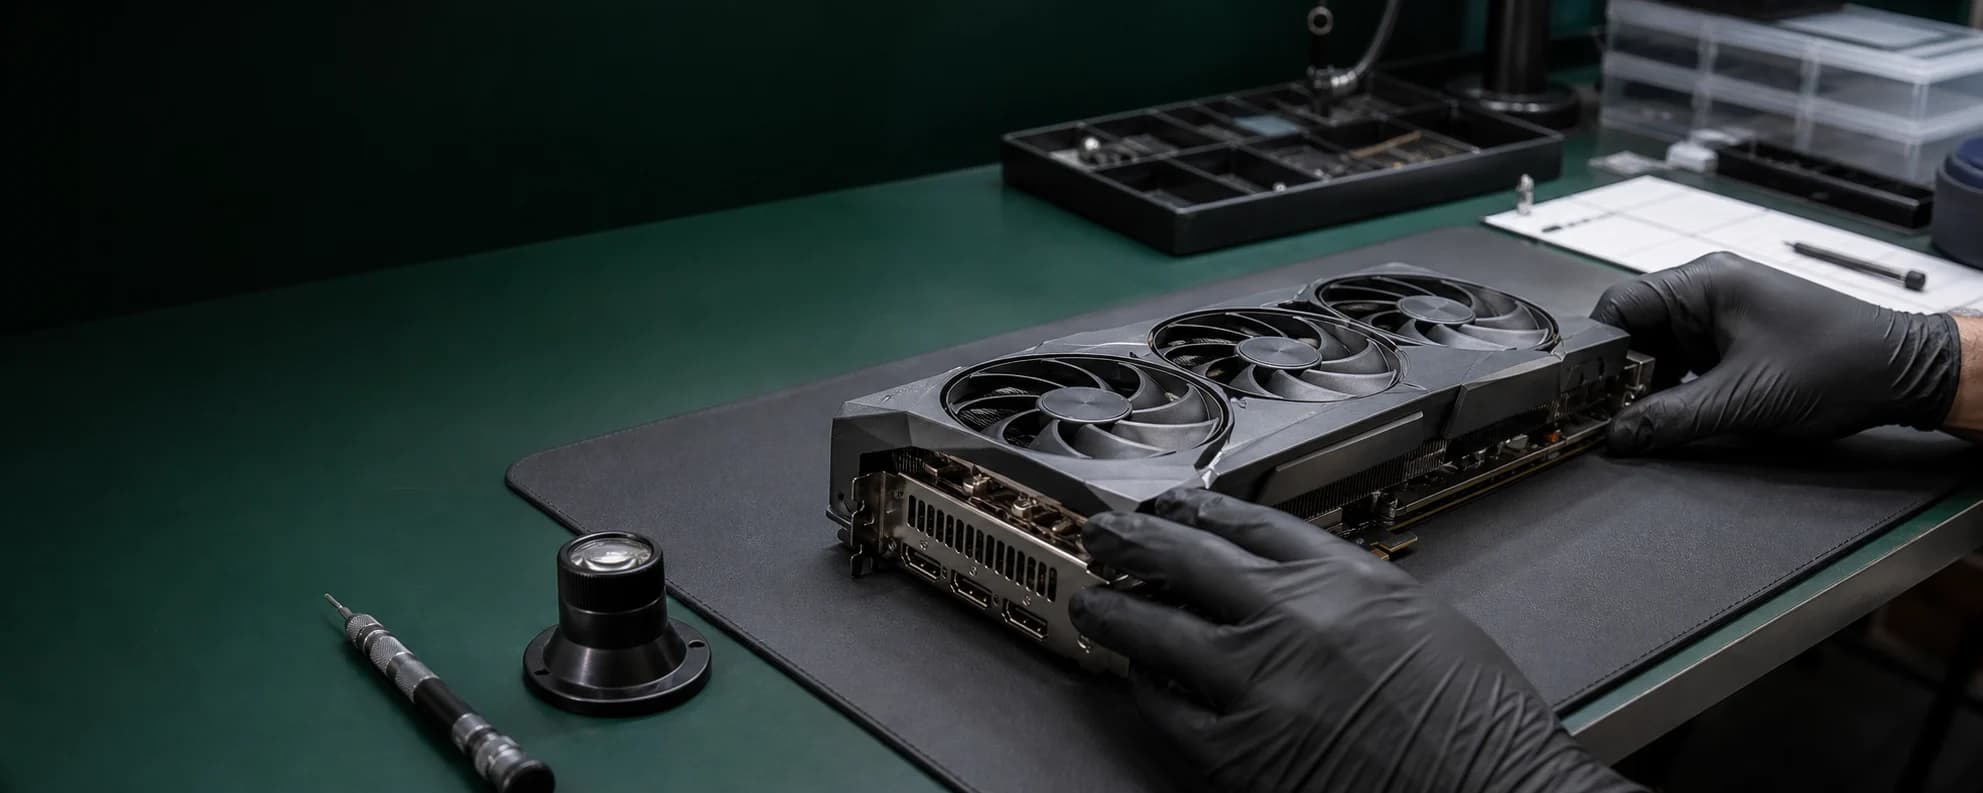
Step 1
Scope check
Confirm the GPU model, warranty context, liquid damage and visible damage before narrowing the repair scope.
Step 2
Email verification
Guest repair intake remains available after verifying the email used for replies and status lookup.
Step 3
Device details
Share manufacturer, model, serial number, symptom photos and the delivery address for receiving the product after repair so document review has enough context.
Step 4
Head-office inbound
After document review passes, ship to the head-office address shown in status guidance; receipt and visual inspection happen before diagnostic-fee guidance.
Step 5
Diagnostic fee and diagnosis
After diagnostic-fee payment is confirmed, the specialist team diagnoses the product and issues repair quote guidance when repair can proceed.
Step 6
Repair quote, repair report, shipping
After repair quote approval and payment, repair, testing and repair report writing proceed, then the product ships to the customer via head office.
Repair request
Submit contact details, symptoms and photos to create a case number. Guest lookup must be connected through email-code verification.
- • Your input is retained if submission fails.
- • Images are validated and stored in a restricted review area.